Welcome!

Thanks for stopping by my little blog. Its purpose isn't so much to show off my work, it is more of a way for me to catalog the things I've created. I hope you enjoy peeking at my projects while you are here!

Wednesday, July 27, 2011

Happy Birthday Dots

Hi there!  I have a quick card for you today.  I didn't even have to use my cricut!  A sweet friend of mine is having a birthday soon and I made this card for her.  Her birthday isn't for a few weeks, but I'm due back at school full time on August 11th (sniff, sniff) so I knew if I didn't do it now...I'd end up buying a card (insert gasp).  I figured I'd make this one quick and easy.  


I made the dots with my Creative Memories circle punch.  The stamp is from Joy's Life All Around Sentiments stamp set.  The Twine is from The Twinery.  The paper is from my stash, except the teal is from DCWV.  You can't really tell in the picture but the silver paper is sort of metallic and sparkly.


I had initially hoped to do this card in green instead of teal, but the colors didn't match up.  The blue button, twine, and paper just worked so well, I had to use them!


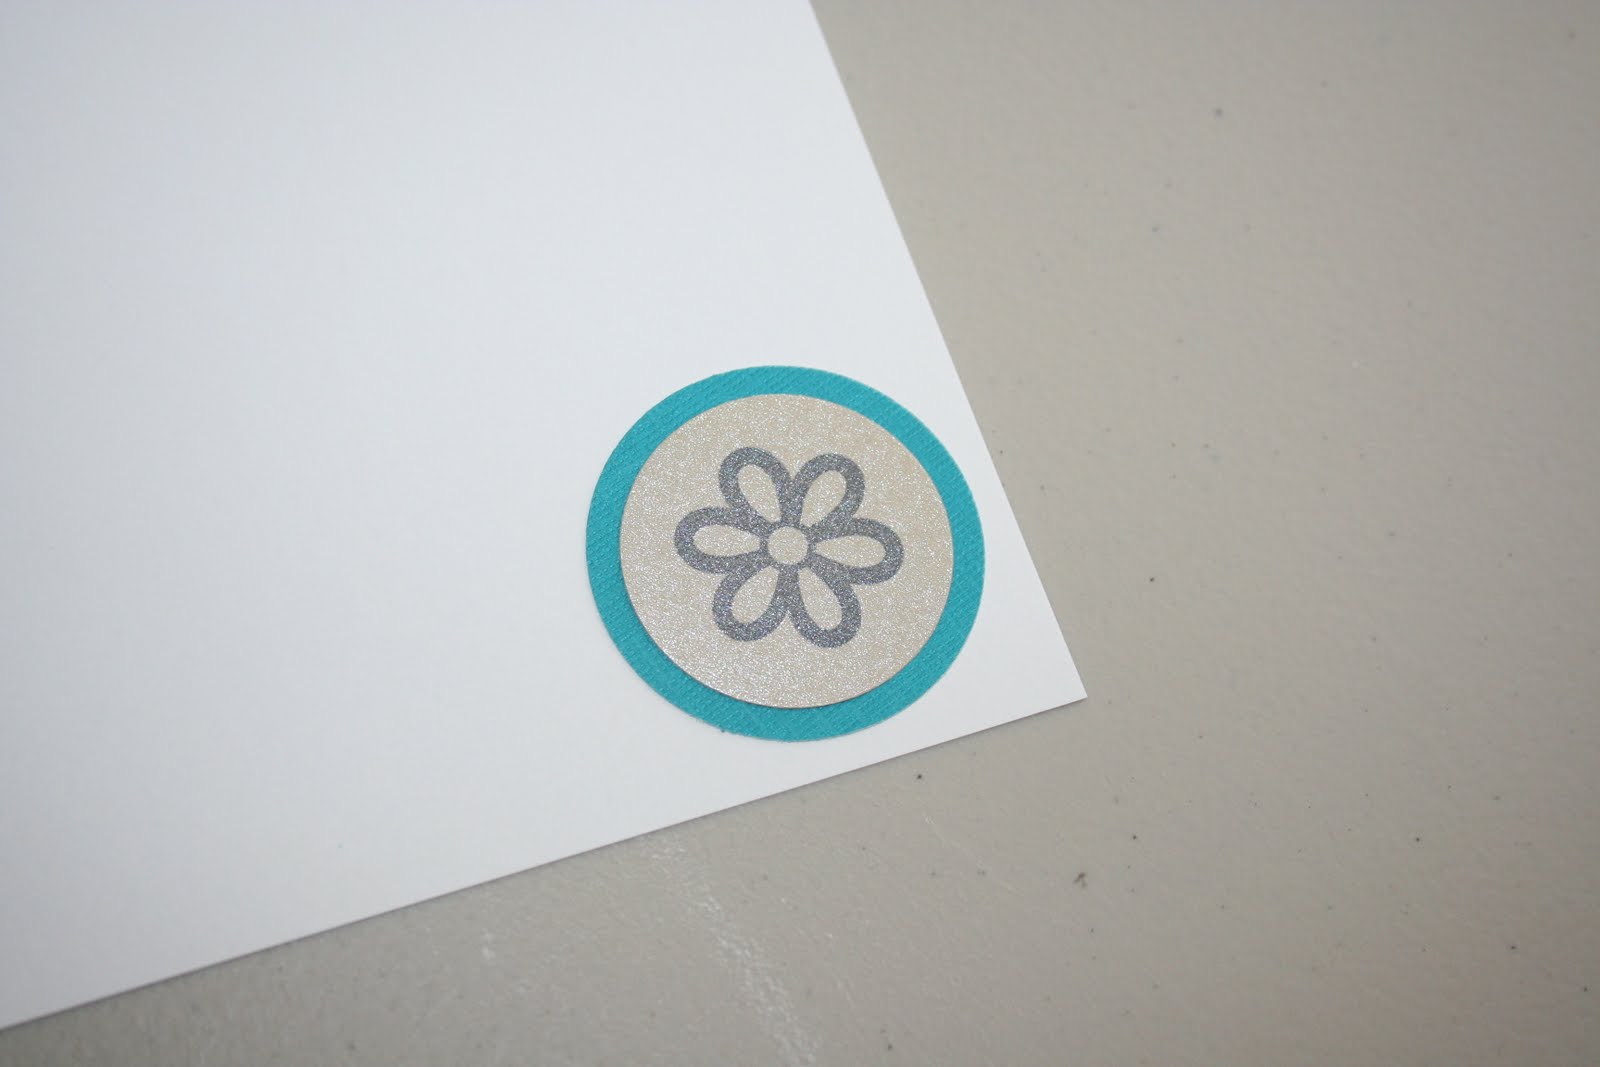
I finished the inside with some more dots and the little flower from the stamp on the front.  Simple and sweet!

Thanks for stopping by!

Cynthia :)

Saturday, July 23, 2011

Welcome Home!

Hi there!  I am so excited to share this project with you today!  Some friends of ours just got married and are returning from their honeymoon tomorrow.  My husband was asked to swing by the house each day and bring in the mail, which is how we got access to their home.  We wanted to make sure they didn't come back to an empty fridge, so we stocked some refrigerated and pantry type items, as well as some fresh produce for them so they can make a few meals when they get home without running to the store.  I figured I'd make a card to go along with it.  I was looking around on Pinterest and found this, which I LOVE!  I just had to make it!  She used stuff from the silhouette store, and since I do not have a silhouette, I was on my own.  This is what I came up with.


Isn't it so cute?!  I used the door (with some editing), the square windows, and the flower pots from the Summer Lanterns svg set from SVGAttic.  The picket fence is from the Farm cut its set from Lettering Delights.  The flowers are from the Walk in my Garden cart, and the font and banner pieces are from the Birthday Bash cart.  The rest I had to create myself.  I made the house by hand and used the MTC basic shapes to create and weld together the chimney and round window.  Here is an aerial view.


Most of the paper is just from my stash, but the dark brown and teal are from DCWV and the dotted one is from DCWV as well, from the Linen pack.  The twine is from The Twinery.  I've been wanting to make a mini banner for a while, but not had a good idea for one.  I'm so happy with how it turned out!


Here are a few close up shots.  We were in a really big hurry to leave and go set it up at their house the second I finished it, so I didn't get to check my photos before I left.  They didn't turn out so great.  The light was bad.  


Here is a shot of the front of the card.  I wanted to do a lot more with it, but as I said, we were in a hurry to go set it up so I didn't get a chance.  I wanted to go back through and do a few details with my gel pen, but I didn't get a chance to do that either.  


I just love how it all came together!  

Thanks for stopping by!

Cynthia :)

Monday, July 18, 2011

Frog Subject Cards

Ok, so you might remember the little apple subject cards I made to go on the whiteboard in my classroom for our schedule.  My partner teacher wanted some too and she loves frogs.  I made her cards a bit smaller and now having seen them, I wish mine were smaller too!  Oh well.  


The frog is from the Live Simply cart and I cut him at 1.75 inches tall.  The words are from the Learning Curve cart and the capital letters are cut at 1.4 inches tall.  I resized the lower case letters by hand to look right.  I used my Gypsy to weld them together.  


Cute no?  All we need to do is laminate them and put magnets on the back.  I can't believe the school year is starting so soon!  Kids come back August 16th.  Yikes!

Thanks for stopping by!

Cynthia :)

Monday, July 11, 2011

Penguins

I had so much fun with my little owl notecards...I got to thinking.  A family member had a birthday today and she LOVES penguins.  After a little searching, I found the penguin image I wanted.  It was actually a free SVG file I found here.  I had to take some parts out and add some others to get what I wanted, but in the end...I think they came out pretty cute!  


The sentiments are from Emma over at My Creative Time.  The Just Because stamp is from her Just a Little Note To Say set, and the other two are from the So Grateful For You set, both of which you can purchase here.


I had a really hard time getting the shaped base to match up when it was folded over.  I was attaching it on the side (I used MTC to edit my svg file and cut the project on the cricut).  I asked Ruthie over at Septemberninth, who happens to be my sister-in-law (I KNOW!  I'm so lucky!) to help me figure out what I was doing wrong and she made a little video to help me out.  You can see it here.  She shows how to attach the two shadow layers on the top instead of the side.  


I went ahead and put a little white penguin on the inside to create a nice writing space.  I think they are quite cute!  I'm glad they turned out.  I almost gave up when I couldn't get the base to line up folded.  It might be time to take a break from shaped cards for a little while.  :)

The birthday girl LOVED her little penguin cards and I hope you enjoyed seeing them.  

:) Cynthia


Saturday, July 2, 2011

Sweet Owl Notecards

Ok...I put my Kindle down long enough to get a project done!  When I start a project, I normally I have a cute little card all planned in my head and it NEVER comes out the way I wanted it to.  I hardly ever love how the project ends up coming out.  But this time...this time it came out perfectly and I LOVE these little owls!  


Aren't they just adorable!?  The owls are from the Felt Owl Right svg set from Lettering Delights .  Ever since I bought that set months ago I've been thinking about how to use these cute little owls.  I used MTC to make a shadow layer which I made into the shape of the card (kraft cardstock).  The papers are from DCWV and my paper stash.  I added a little stitching around the edges with my white gel pen.


I finished off the inside with some cream colored cardstock to make a nice writing space.  


Don't they look so friendly!?  I really do love how they turned out.  Now I just have to decide if I'm going to give them away as a set or keep them all for myself!

Thanks for stopping by!

Cynthia  :)